Author Topic: Jeep Camp Trailer  (Read 32888 times)

Offline Cook5

  • Club Members
  • Level 2
  • *
  • Posts: 111
Re: Jeep Camp Trailer
« Reply #60 on: 09/30/14 - 04:17PM »
I've been doing some work on the bench seat frame also.  I wanted to use some futon brackets that would fold out but they sat the front end up too high due to the angle they use.  Instead we just made a frame using a hinge and fabricated a latching system so it wouldn't move around and to have support when it's folded down for a bed. 


Bottom frame


Bottom & back frames


This is the latching mechanism we built.  It springs out and we routed a cable to pull it in routed to the front of the frame and attached to a lawn mower pull handle.


Finished Frame

Offline Cook5

  • Club Members
  • Level 2
  • *
  • Posts: 111
Re: Jeep Camp Trailer
« Reply #61 on: 09/30/14 - 11:21PM »
I also got the frame built over the A/C so I can sit on it without damaging the unit.  I covered it in expanded aluminum so the air could flow freely. 


Seems to work fine.  The inside is basically done.  Waiting for the cushions to be done.  I'll finish the DC electrical system this week so the battery can be charged and the furnace can run, after that I'm down to building the kitchen.  I'm going to temporarily mount a toolbox and battery box to the front until the kitchen is finished so I have some more storage.

Offline Cook5

  • Club Members
  • Level 2
  • *
  • Posts: 111
Re: Jeep Camp Trailer
« Reply #62 on: 10/ 2/14 - 10:32PM »
The trailer is finished.  Only took me about 18 months...which is about 15 months longer than it should have.  Oh well.  I'm still going to build the slide-out kitchen this winter but will camp in it as-is for now.  I've got the seat completed inside, got the furnace started and running and finished the DC charging & power system. We installed a bulkhead under the bench-seat to make that into storage and installed the front on the furnace at the bulkhead.  I installed a thermostat for the furnace right next to the bed so I can roll over and turn it on in the mornings.  I also got the storage box & battery box put on the front of the trailer for now.  They'll be relocated later when the kitchen is finished.  The battery will go on the tongue and the storage box will come off.  We also got a bracket to mount the propane tank to the front.  It turned out nice.  The propane tank will stay where it is and the kitchen box will go around it to hide it.  I also bought a horse stall mat and put on the floor.  We cut it to fit.  This has been a real learning experience, so if anyone else has a hankering to build a camper, hit me up and I'll give drawings, advice & whatever else help I can.  Hopefully some of my mistakes can be avoided.  Here are some pictures of the finished bench seat, the furnace cover, and the equipment on the front of the trailer. 


Offline Cook5

  • Club Members
  • Level 2
  • *
  • Posts: 111
Re: Jeep Camp Trailer
« Reply #63 on: 10/ 2/14 - 10:41PM »
I forgot to mention we also got some lights wired.  I didn't take any pics yet but I'll post some up later.  I bought a couple of RV snap-on lights from a camper store that are made for pop-up campers.  We fished a wire up through the center tent support pole from the power under the bench seat.  Then I got a couple of 1/4" audio jacks from Radio Shack and soldered them to the wire so the lights can plug in.  The one for the bed even has a little fan on it.  They just snap onto the poles over the bed & one over the table area.

Offline Mo Printer

  • Club Members
  • Level 3
  • *
  • Posts: 397
Re: Jeep Camp Trailer
« Reply #64 on: 10/ 3/14 - 10:21AM »
Nice job Kelly! :41:
Mo Printer

Offline Cook5

  • Club Members
  • Level 2
  • *
  • Posts: 111
Re: Jeep Camp Trailer
« Reply #65 on: 10/ 7/14 - 09:09PM »
Here are a couple more pictures of the trailer with some final things added.  I did use the kayak rack this weekend as we went to the Current river to camp and fish.  It worked well and had no problem fitting 2 kayaks on top.  I was also able to fit my daughter's bike on the back which was a bonus.  The camping went pretty well, I do have some adjustments to make to the trailer.  The tent hoop I made for the bed is too wide to fit in the box when I fold the tent up.  I had been putting it in at an angle but with the mattress & seat cushions & tent all folded in, it doesn't fit very well.  I'm going to shorten it up this week and make new socket holes in the bed for it that are 3 inches narrower.  I don't think it will affect the fit of the tent.  The furnace worked well as it was pretty cold Saturday morning.  I left it off all night but it was nice to use it to warm up the camper first thing in the morning.  The lights also worked out pretty well.  I can plug them in and they have brackets that hook to the tent poles.  I also think I need to get the stabilizers I bought installed to help keep it in place.  With the big tires, it wants to roll around too easily. 

I got the mattress put in and temporarily put some seat cushions off my outdoor rocker in until mine get finished next month.  It slept a lot better than being on the ground!


Here's a shot of the kayaks on top behind my truck.  I used the truck for this trip since I haven't put my hard-top on yet and I wasn't sure about the weather.  I know it's a stinkin' Toyota but it gets me around.

Offline mrfast

  • Director of Photography
  • Level 4
  • *
  • Posts: 656
Re: Jeep Camp Trailer
« Reply #66 on: 10/ 7/14 - 09:49PM »
Really really turned out great, and thanks for the write up and pictures Kelly

Offline Cook5

  • Club Members
  • Level 2
  • *
  • Posts: 111
Re: Jeep Camp Trailer
« Reply #67 on: 11/20/14 - 09:32AM »
The upholsterer called yesterday to tell me my seat cushions were done.  I pulled the trailer out and set it up in their parking lot so I could put the cushions in and make sure they fit.  The fit was great.  They did a really good job.  The one hitch was the foam they ordered for the cushions came in as 6" instead of the 5" we ordered.  They called me ahead of time about it but I didn't want to wait for more foam to come in so we went ahead.  It works fine except the bottom cushion sits right up against my furnace T-stat.  I'll have to move the T-stat up an inch or so.

They embroidered the Jeep logo into the back cushion for me. 


Now everything is complete with the inside of the trailer.  Still working on the camp kitchen for the front.  Should start making some progress on it soon.  I have changed what I wanted at least a dozen times but the overall concept is still the same.  I'm going to do a pull-out cabinet of sorts that will have a built-in stove, sink and as much storage and work-space as I can squeeze into it.  I'll try to post some concept drawings up soon and hopefully some in-progress pictures also.

Thanks for the compliments!

Offline Cook5

  • Club Members
  • Level 2
  • *
  • Posts: 111
Re: Jeep Camp Trailer
« Reply #68 on: 11/21/14 - 11:16AM »
Here's my drawing.  I'm going to build an aluminum frame with shelves and a lowered space for the stove.  The sink will be cut into the top.  I was going to do drawers but changed my mind since I was afraid I wouldn't be able to keep them tight enough to seal out dirt & dust.  Instead I'm going to make shelves with dividers and slide in plastic bins with lids on top that will seal.  It'll also allow the bins to be pulled out either side for convenience.  The end plate which will be the outside panel, will fold up to be more work-space.  I had originally planned to do a drawer on slides but now I'm thinking it'll have legs and pull out to be free-standing.  That'll allow me to move it around a bit.  I'll still have to be close enough for the water line & propane lines to reach but should have some flexibility there.  So, any fresh ideas?


« Last Edit: 11/21/14 - 11:55AM by Cook5 »

Offline Cook5

  • Club Members
  • Level 2
  • *
  • Posts: 111
Re: Jeep Camp Trailer
« Reply #69 on: 11/27/14 - 02:47PM »
Got started on the camp kitchen for the trailer this week.  I've finally decided on how I want it to look.  I put together a 3D drawing with dimensions and came up with a materials list.  Picked up the material this week ($250).  All aluminum tubing & angle.  I got the main frame put together, taking quite a bit of time to make sure it was square all around.  It's kind of a pain to keep it square as you weld it, the heat causes it to pull different directions.  A jig would work better but it's not worth fabricating a jig to make one item.  I'm going to try to get more of it put together while I'm off for a few days around the holidays.  Hopefully it'll be pretty well done by the end of the year.  Here's some pictures of what I've done so far.

The final drawing with dimensions.


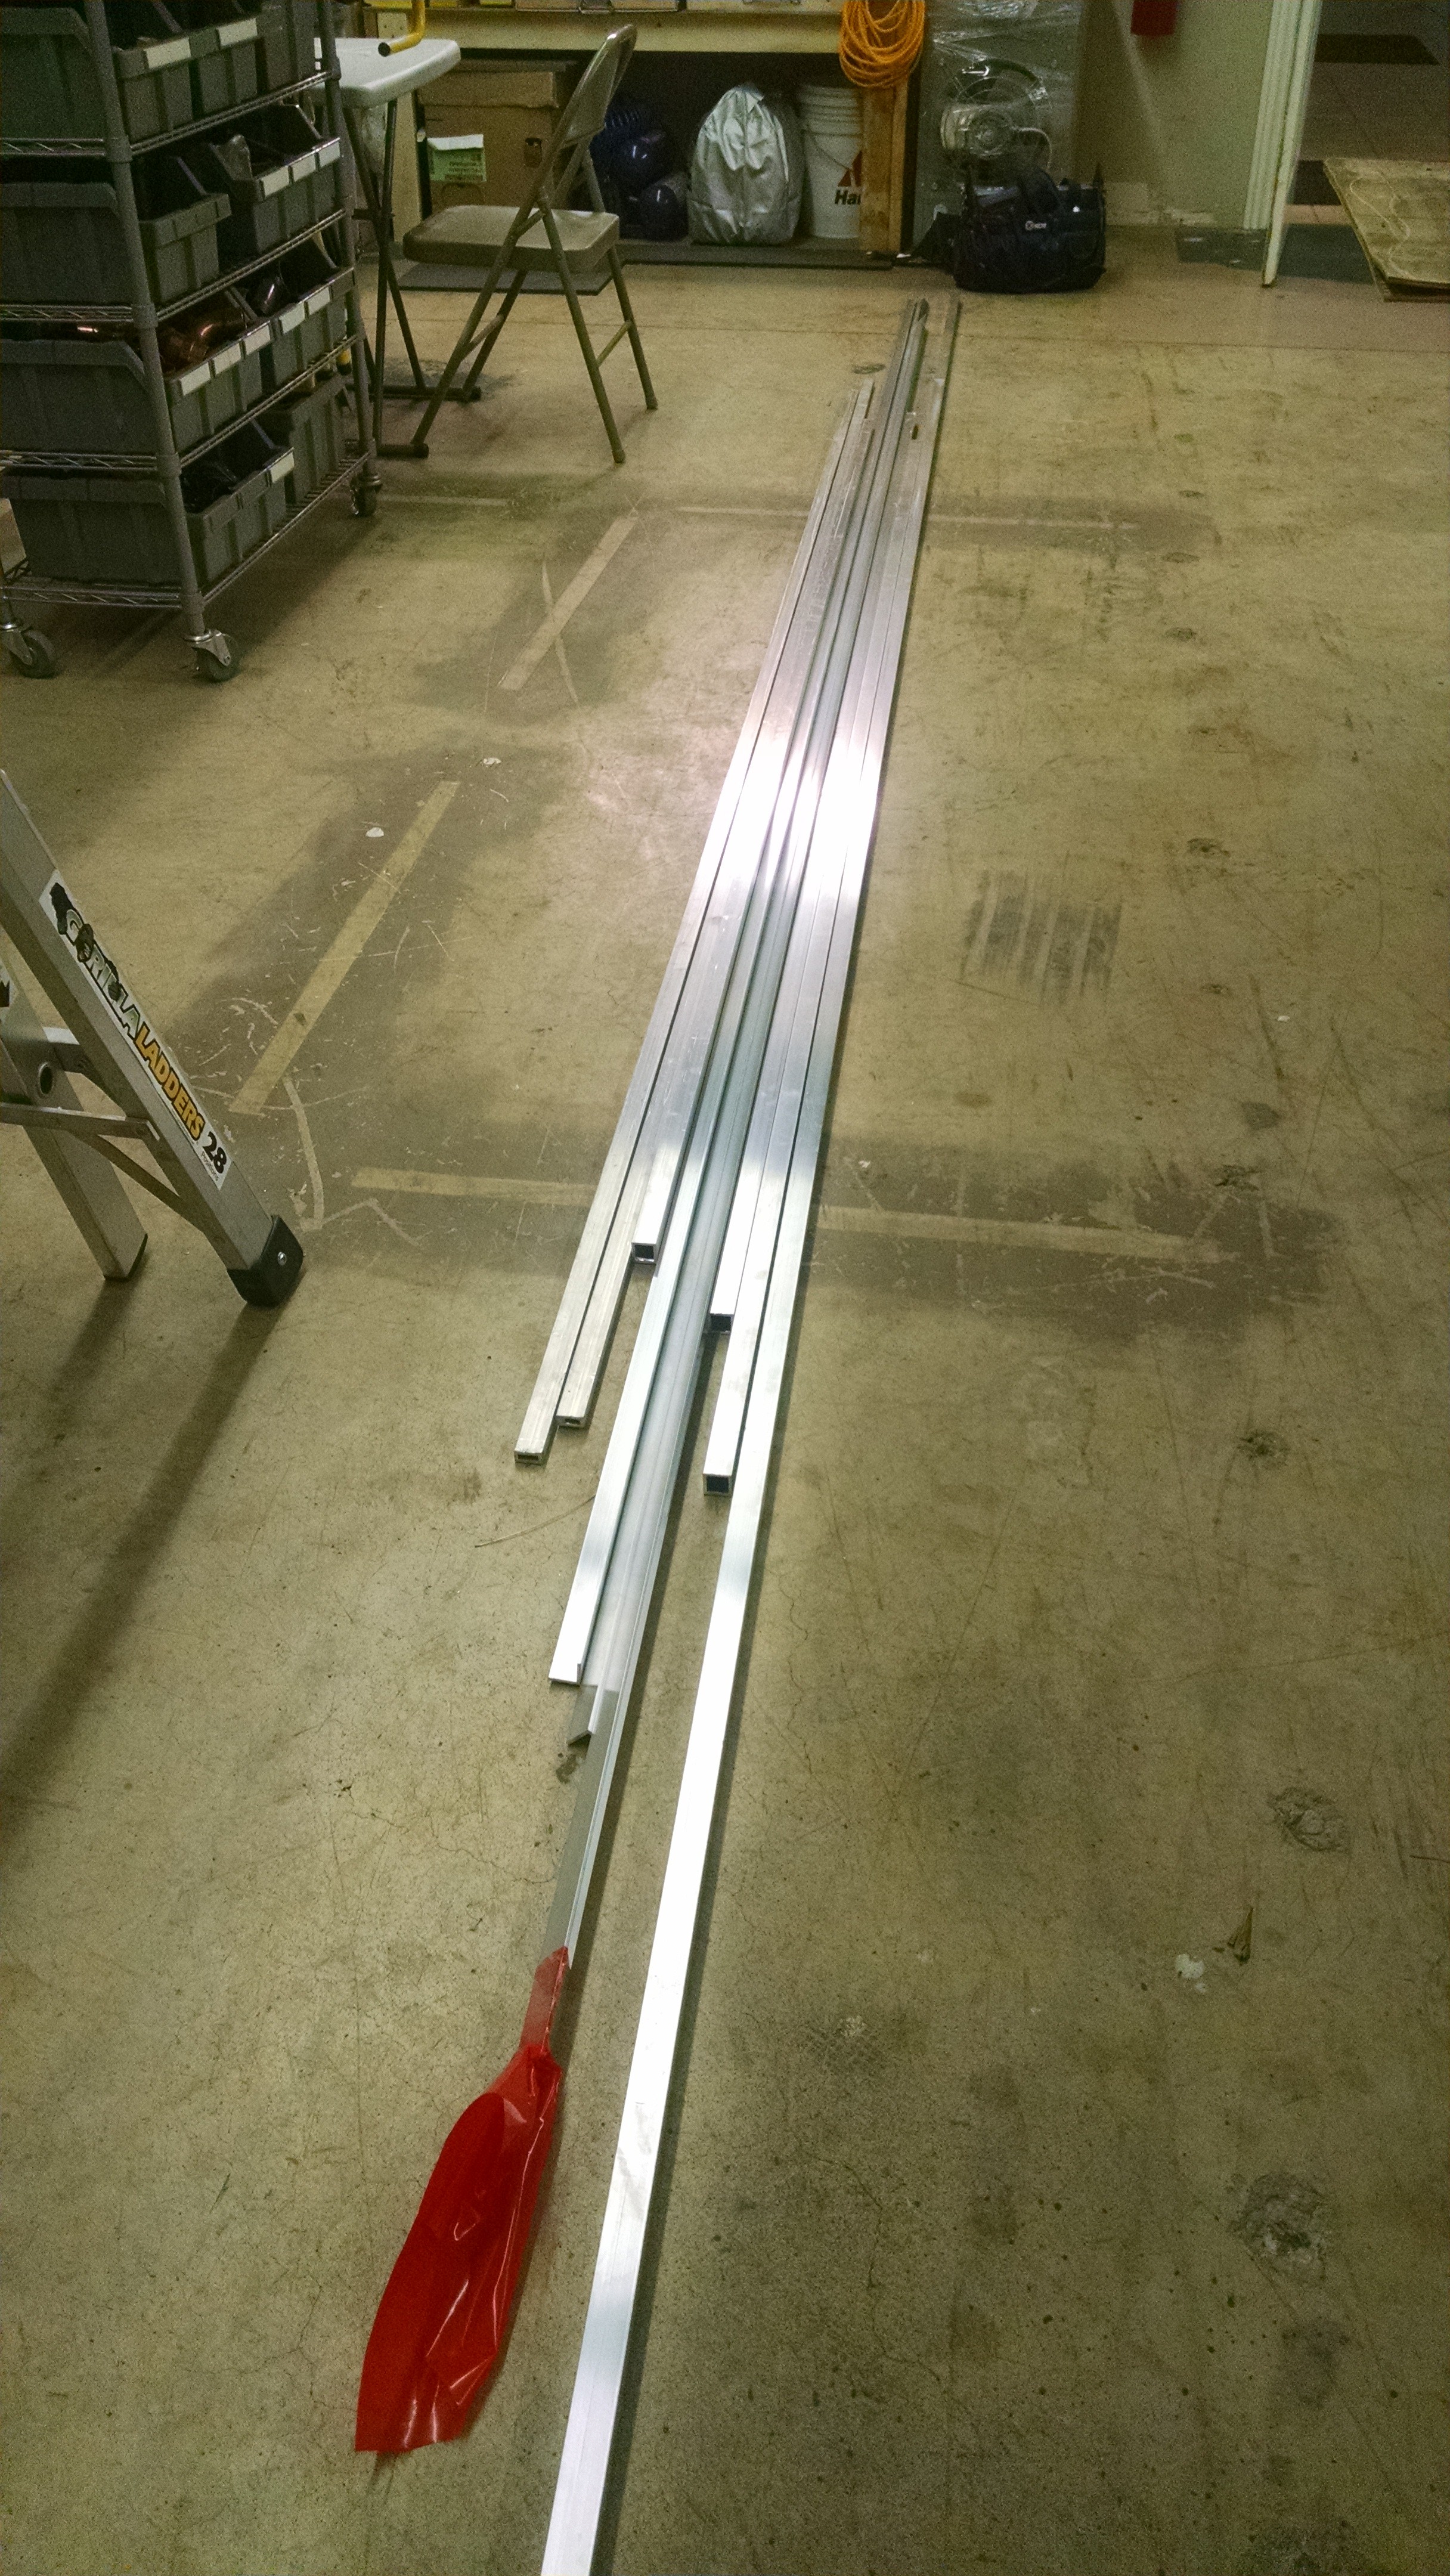
The pile of aluminum stock after unloading.


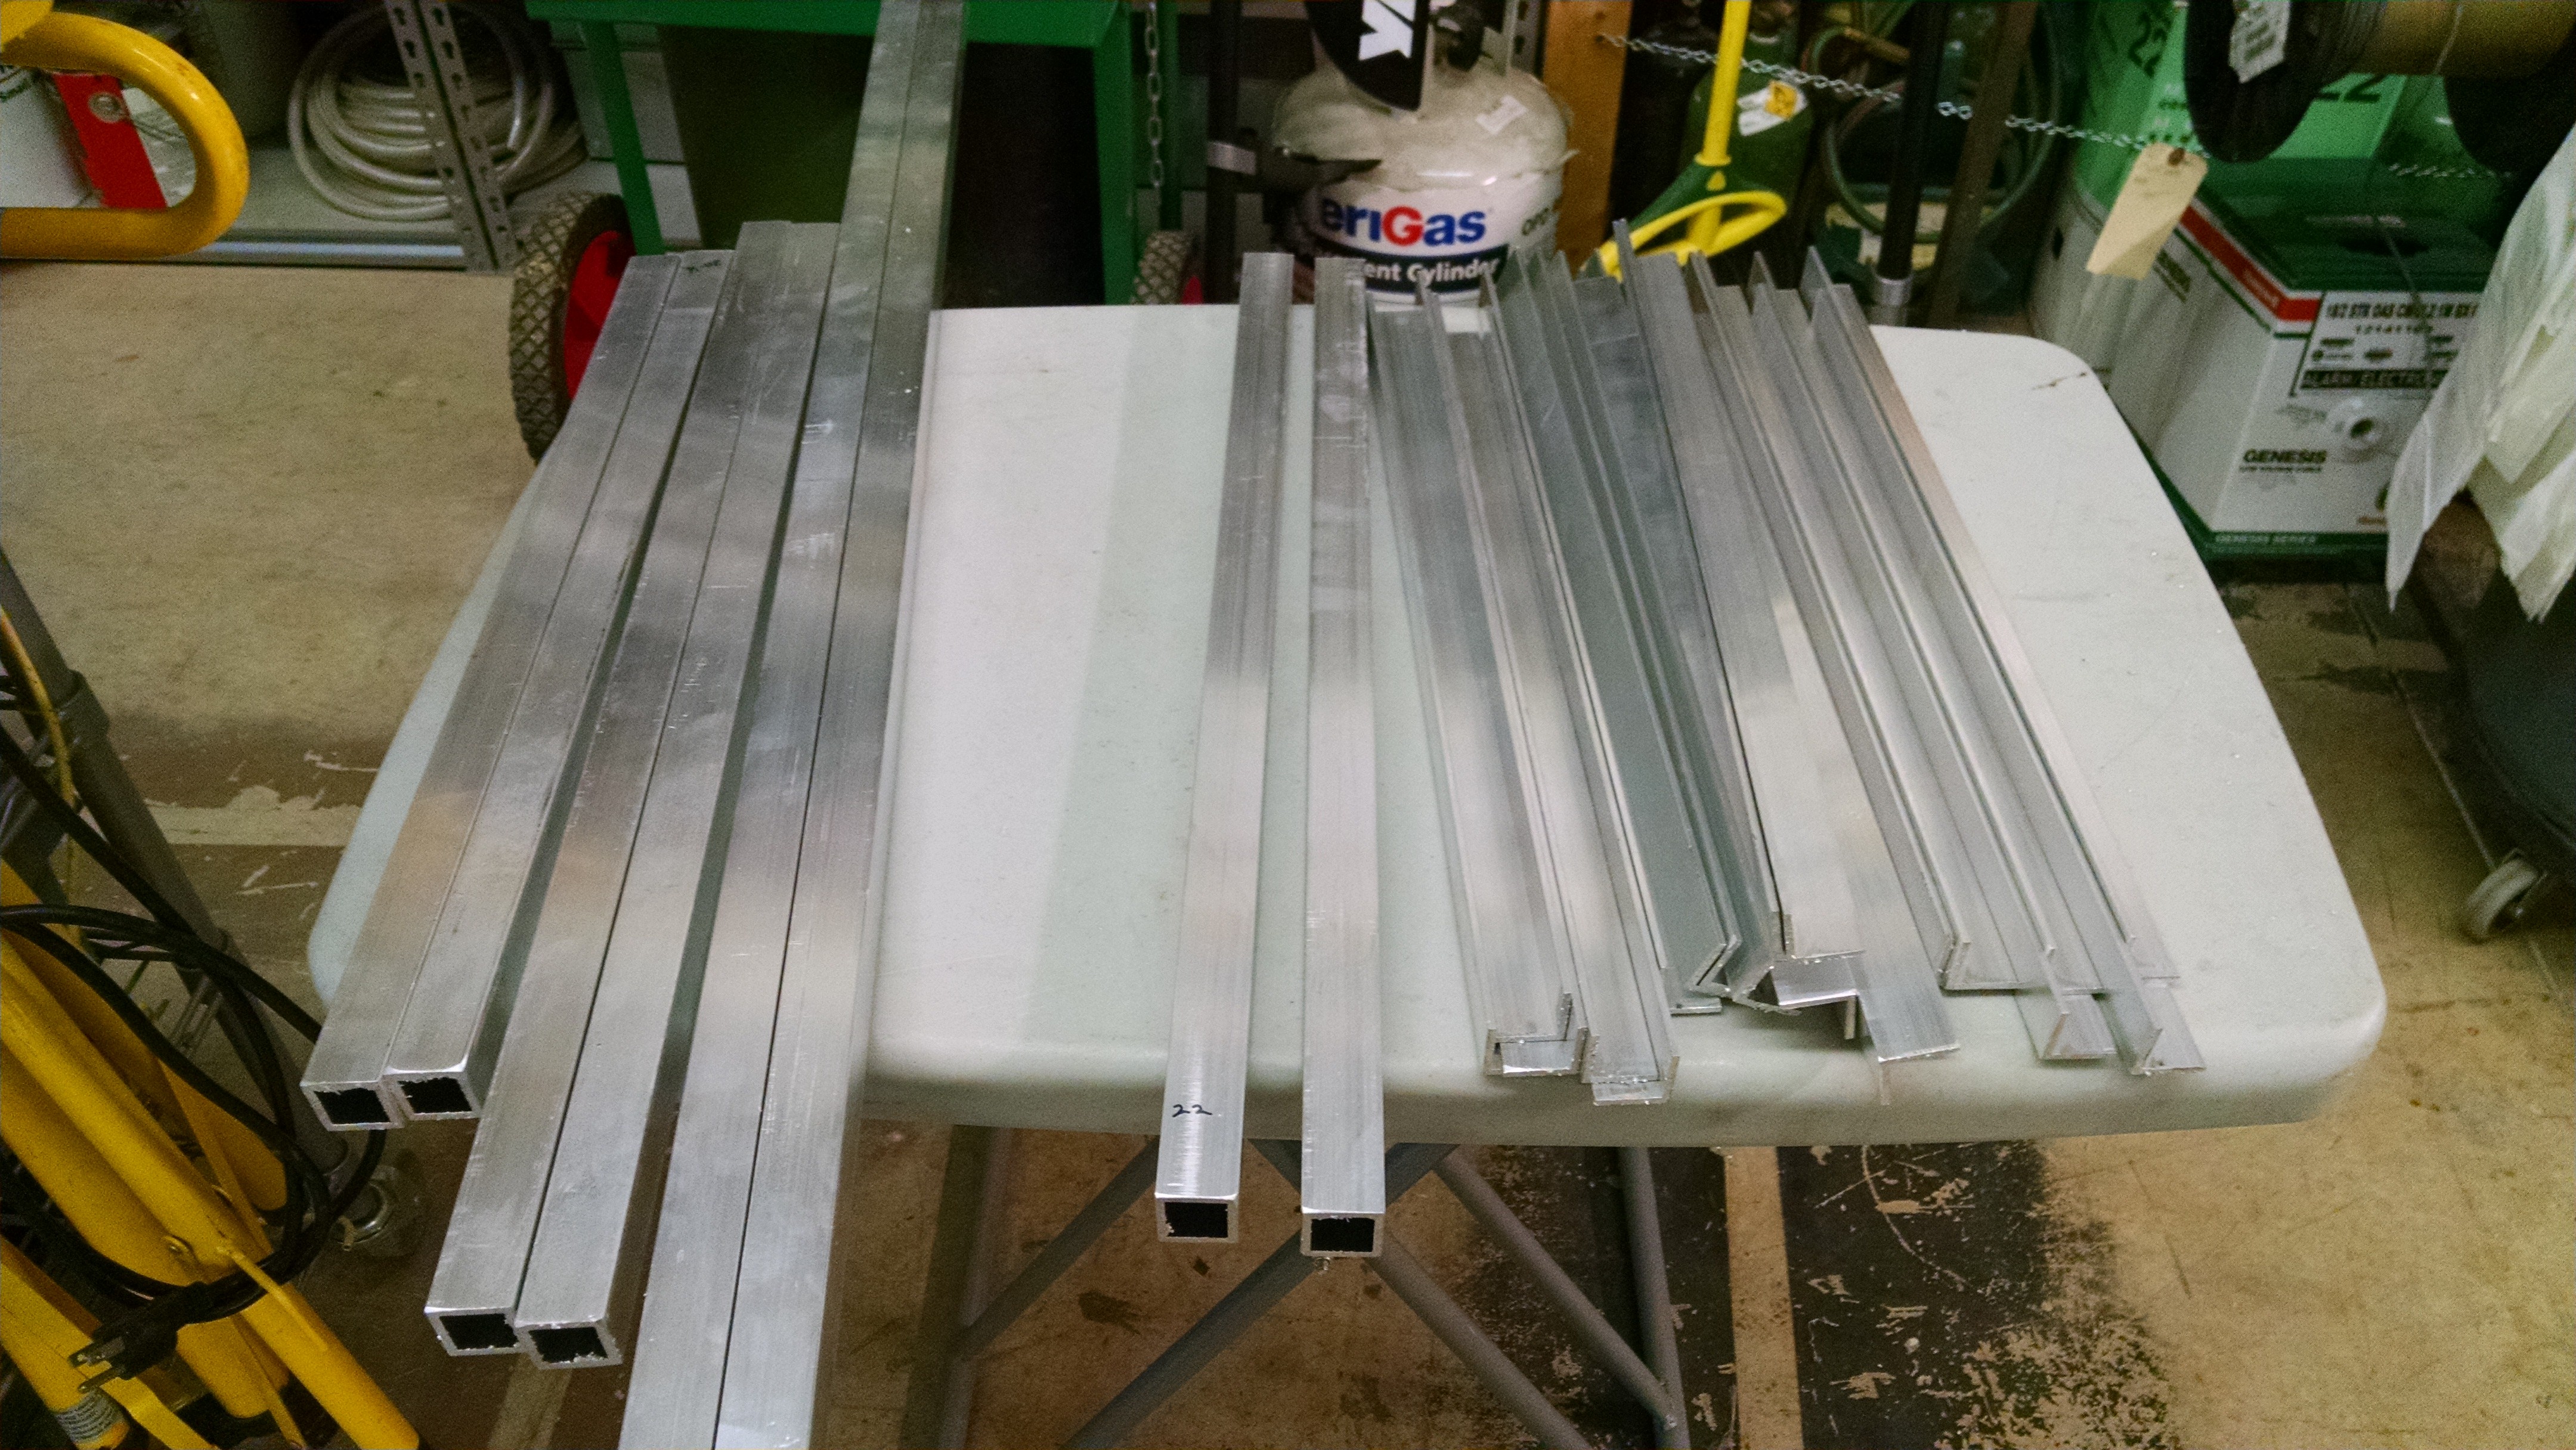
We spent about an hour cutting all the pieces.


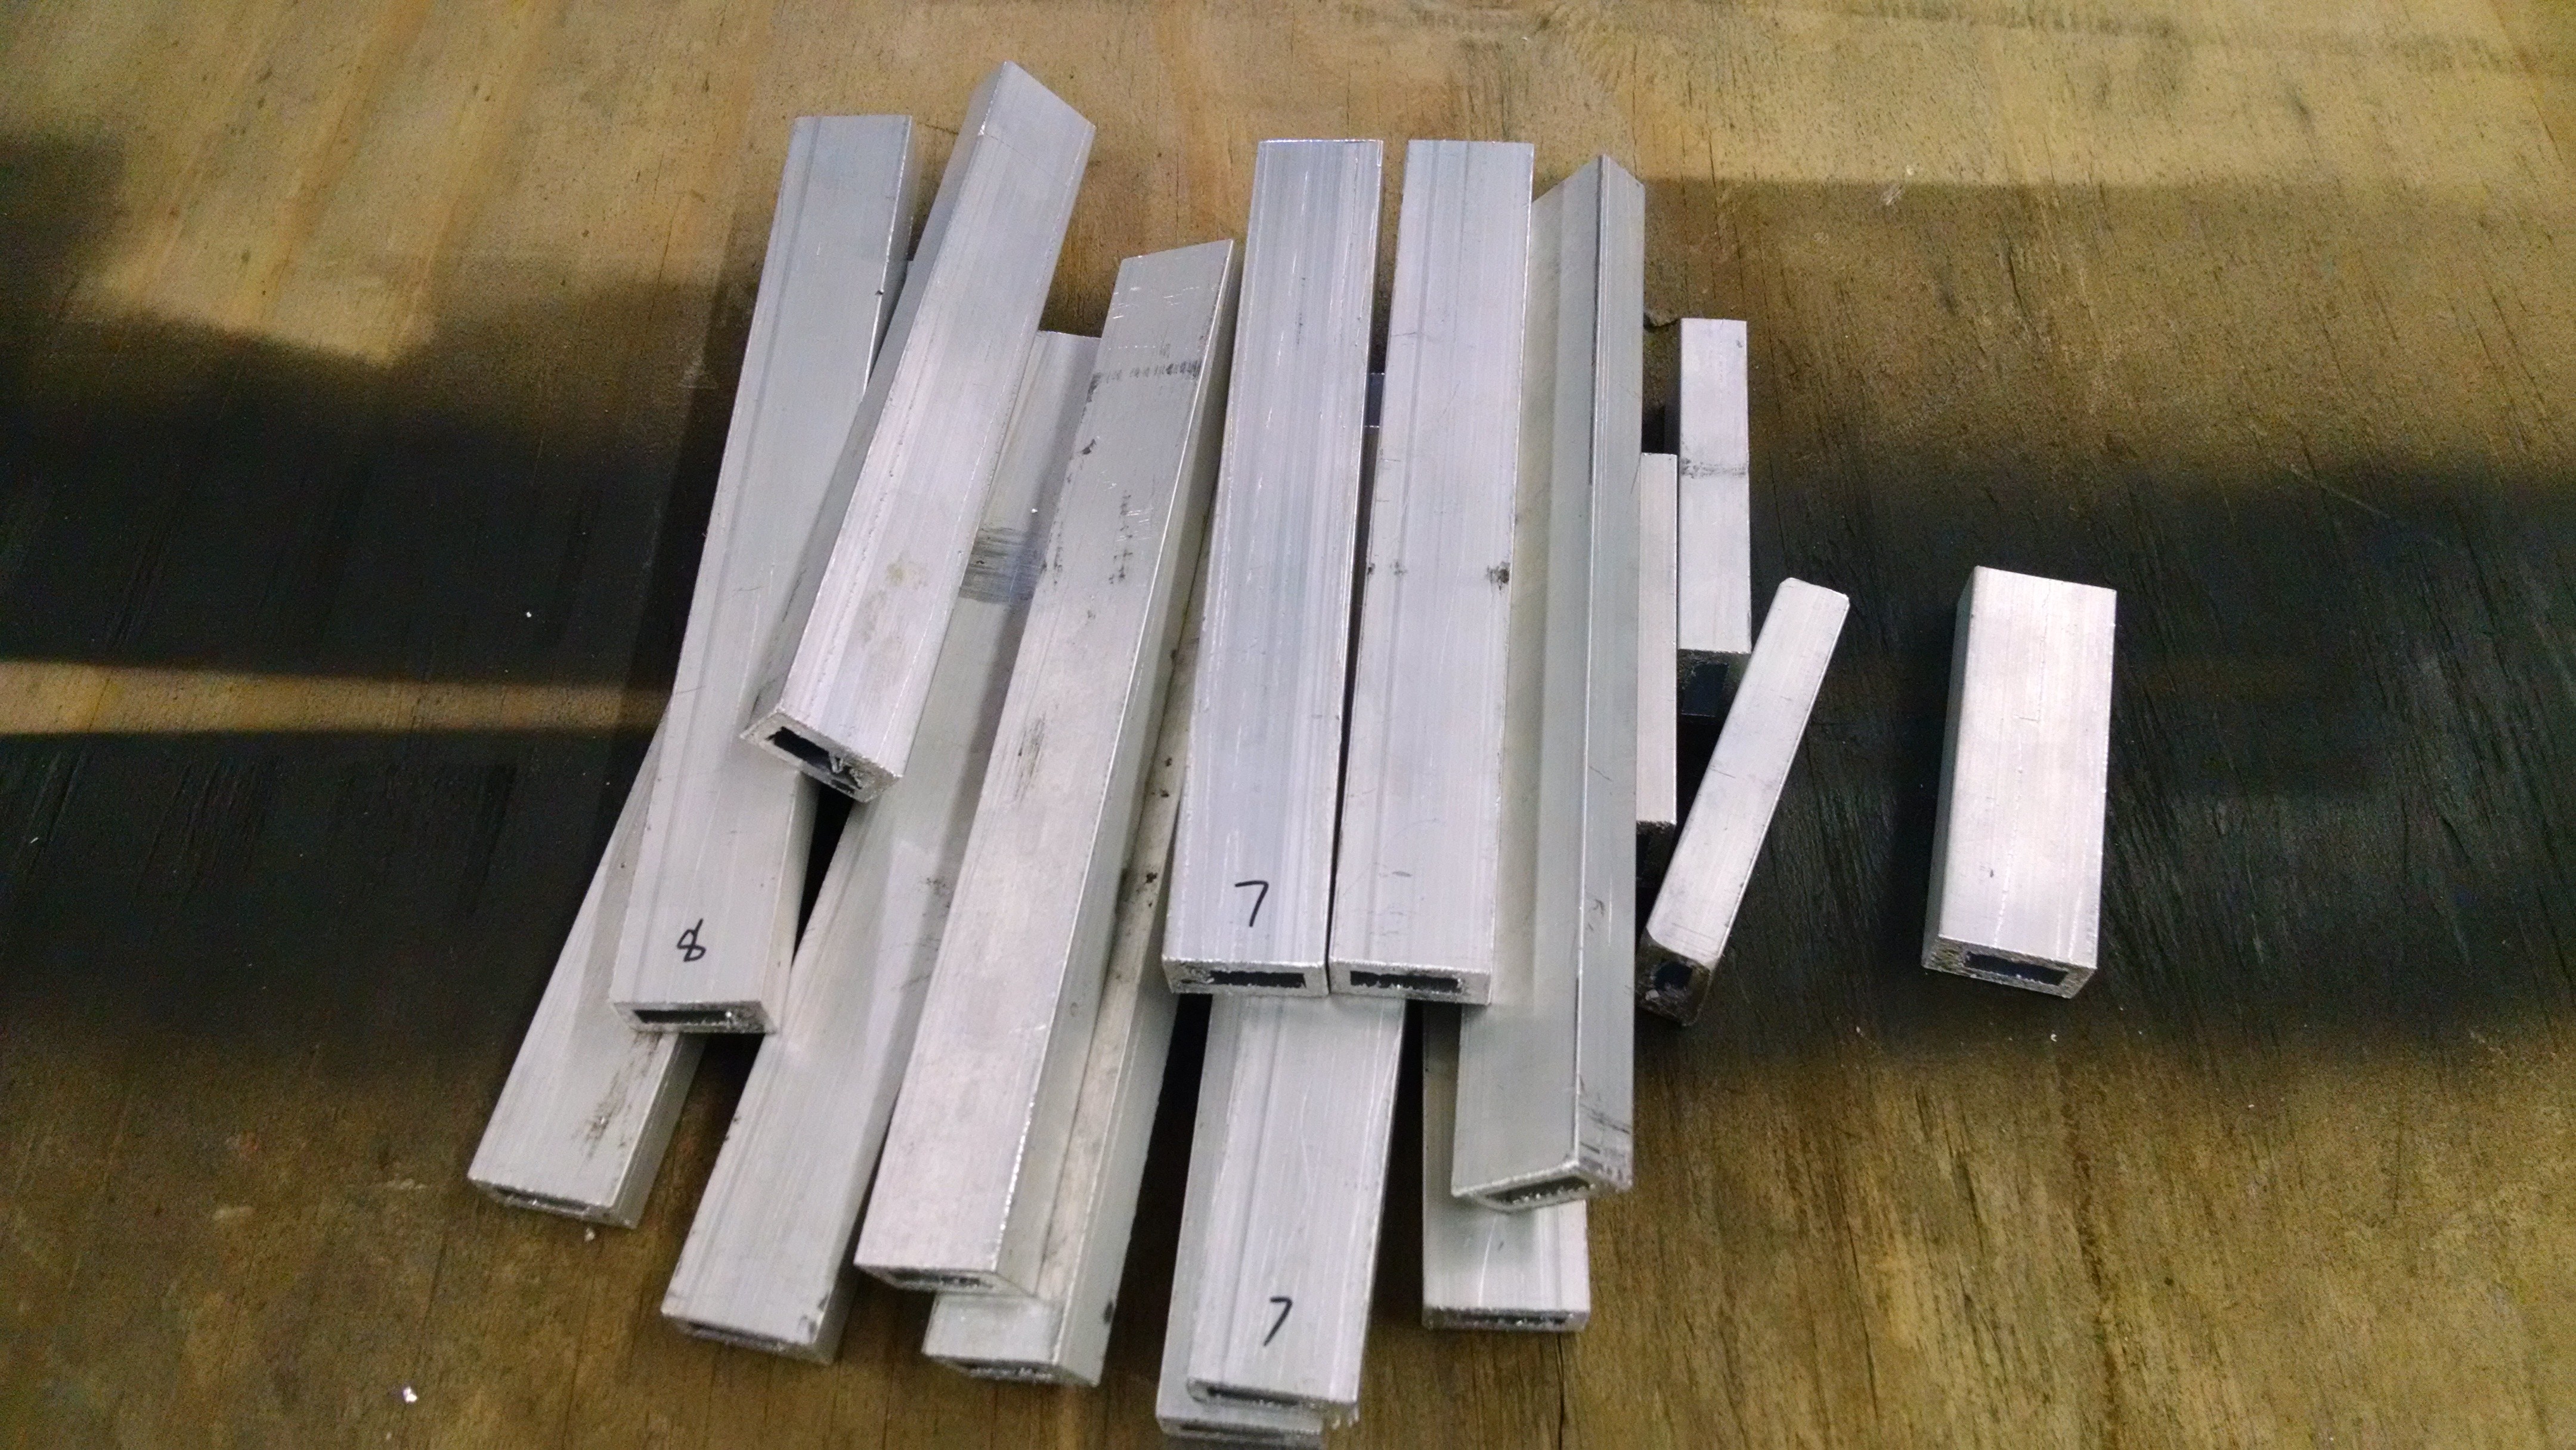
Marked the pieces by measurement to help avoid screwing up.  (We will anyway)


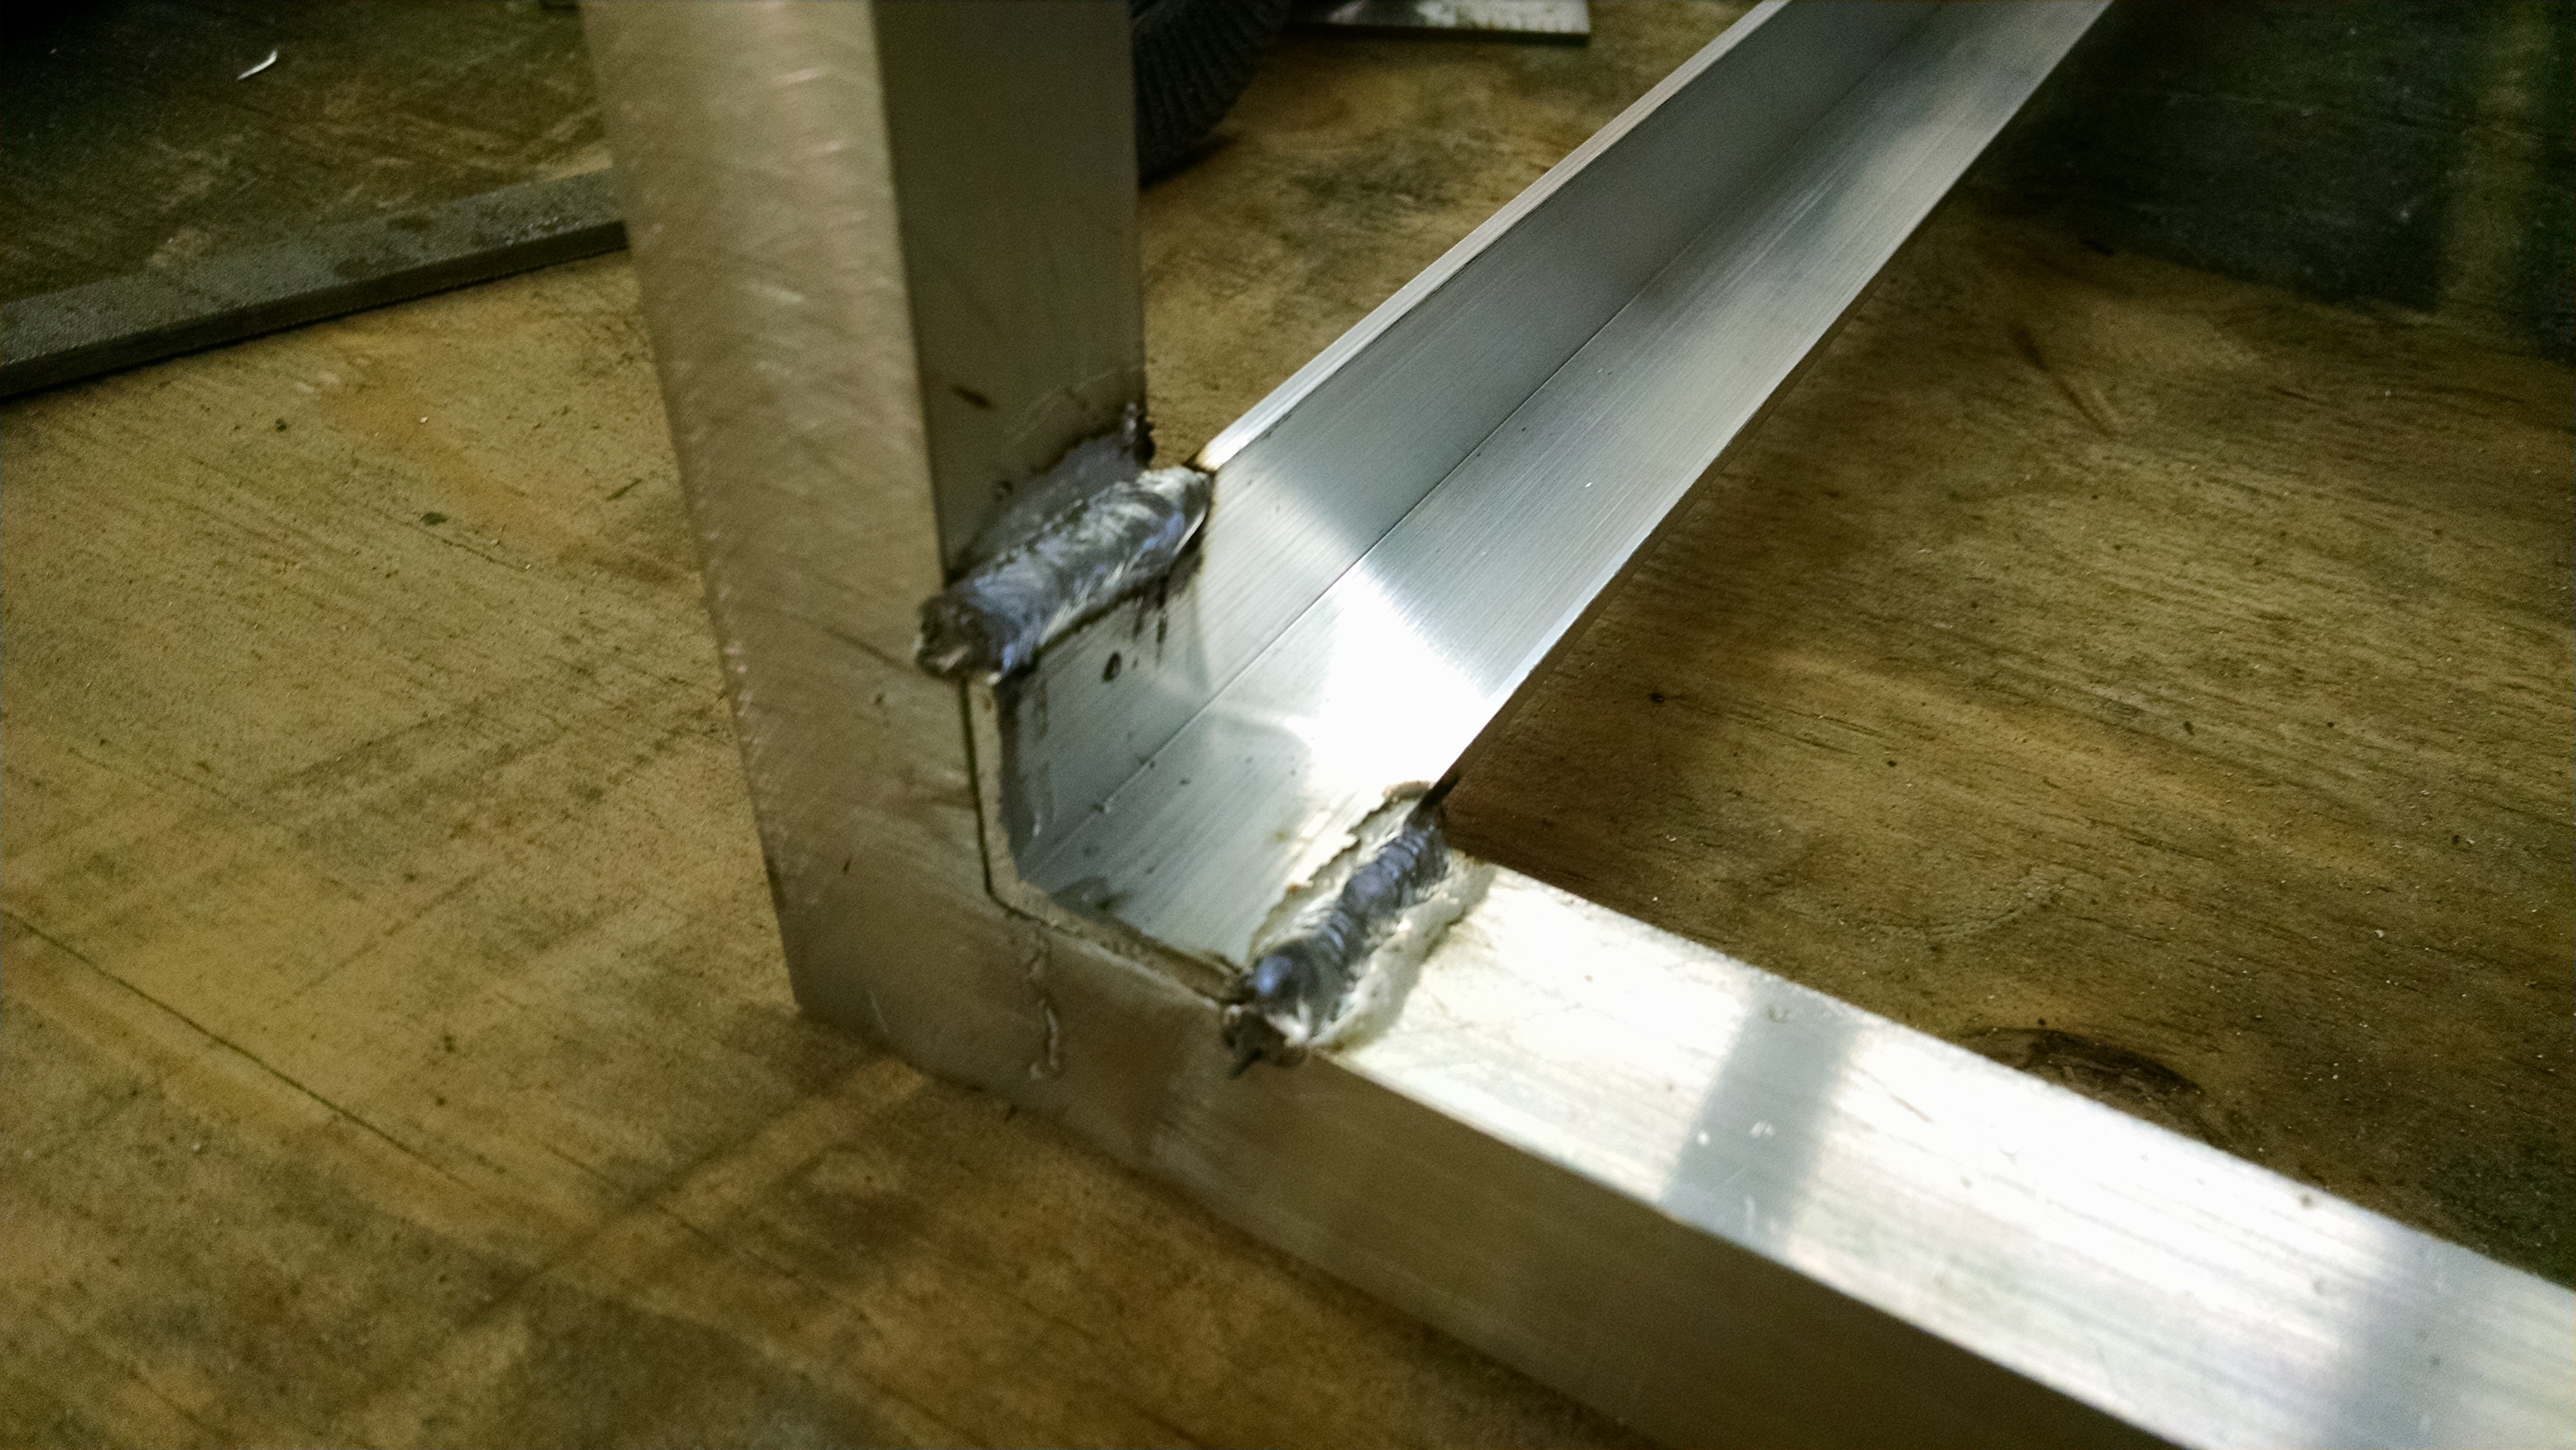
Welding up the basic frame.


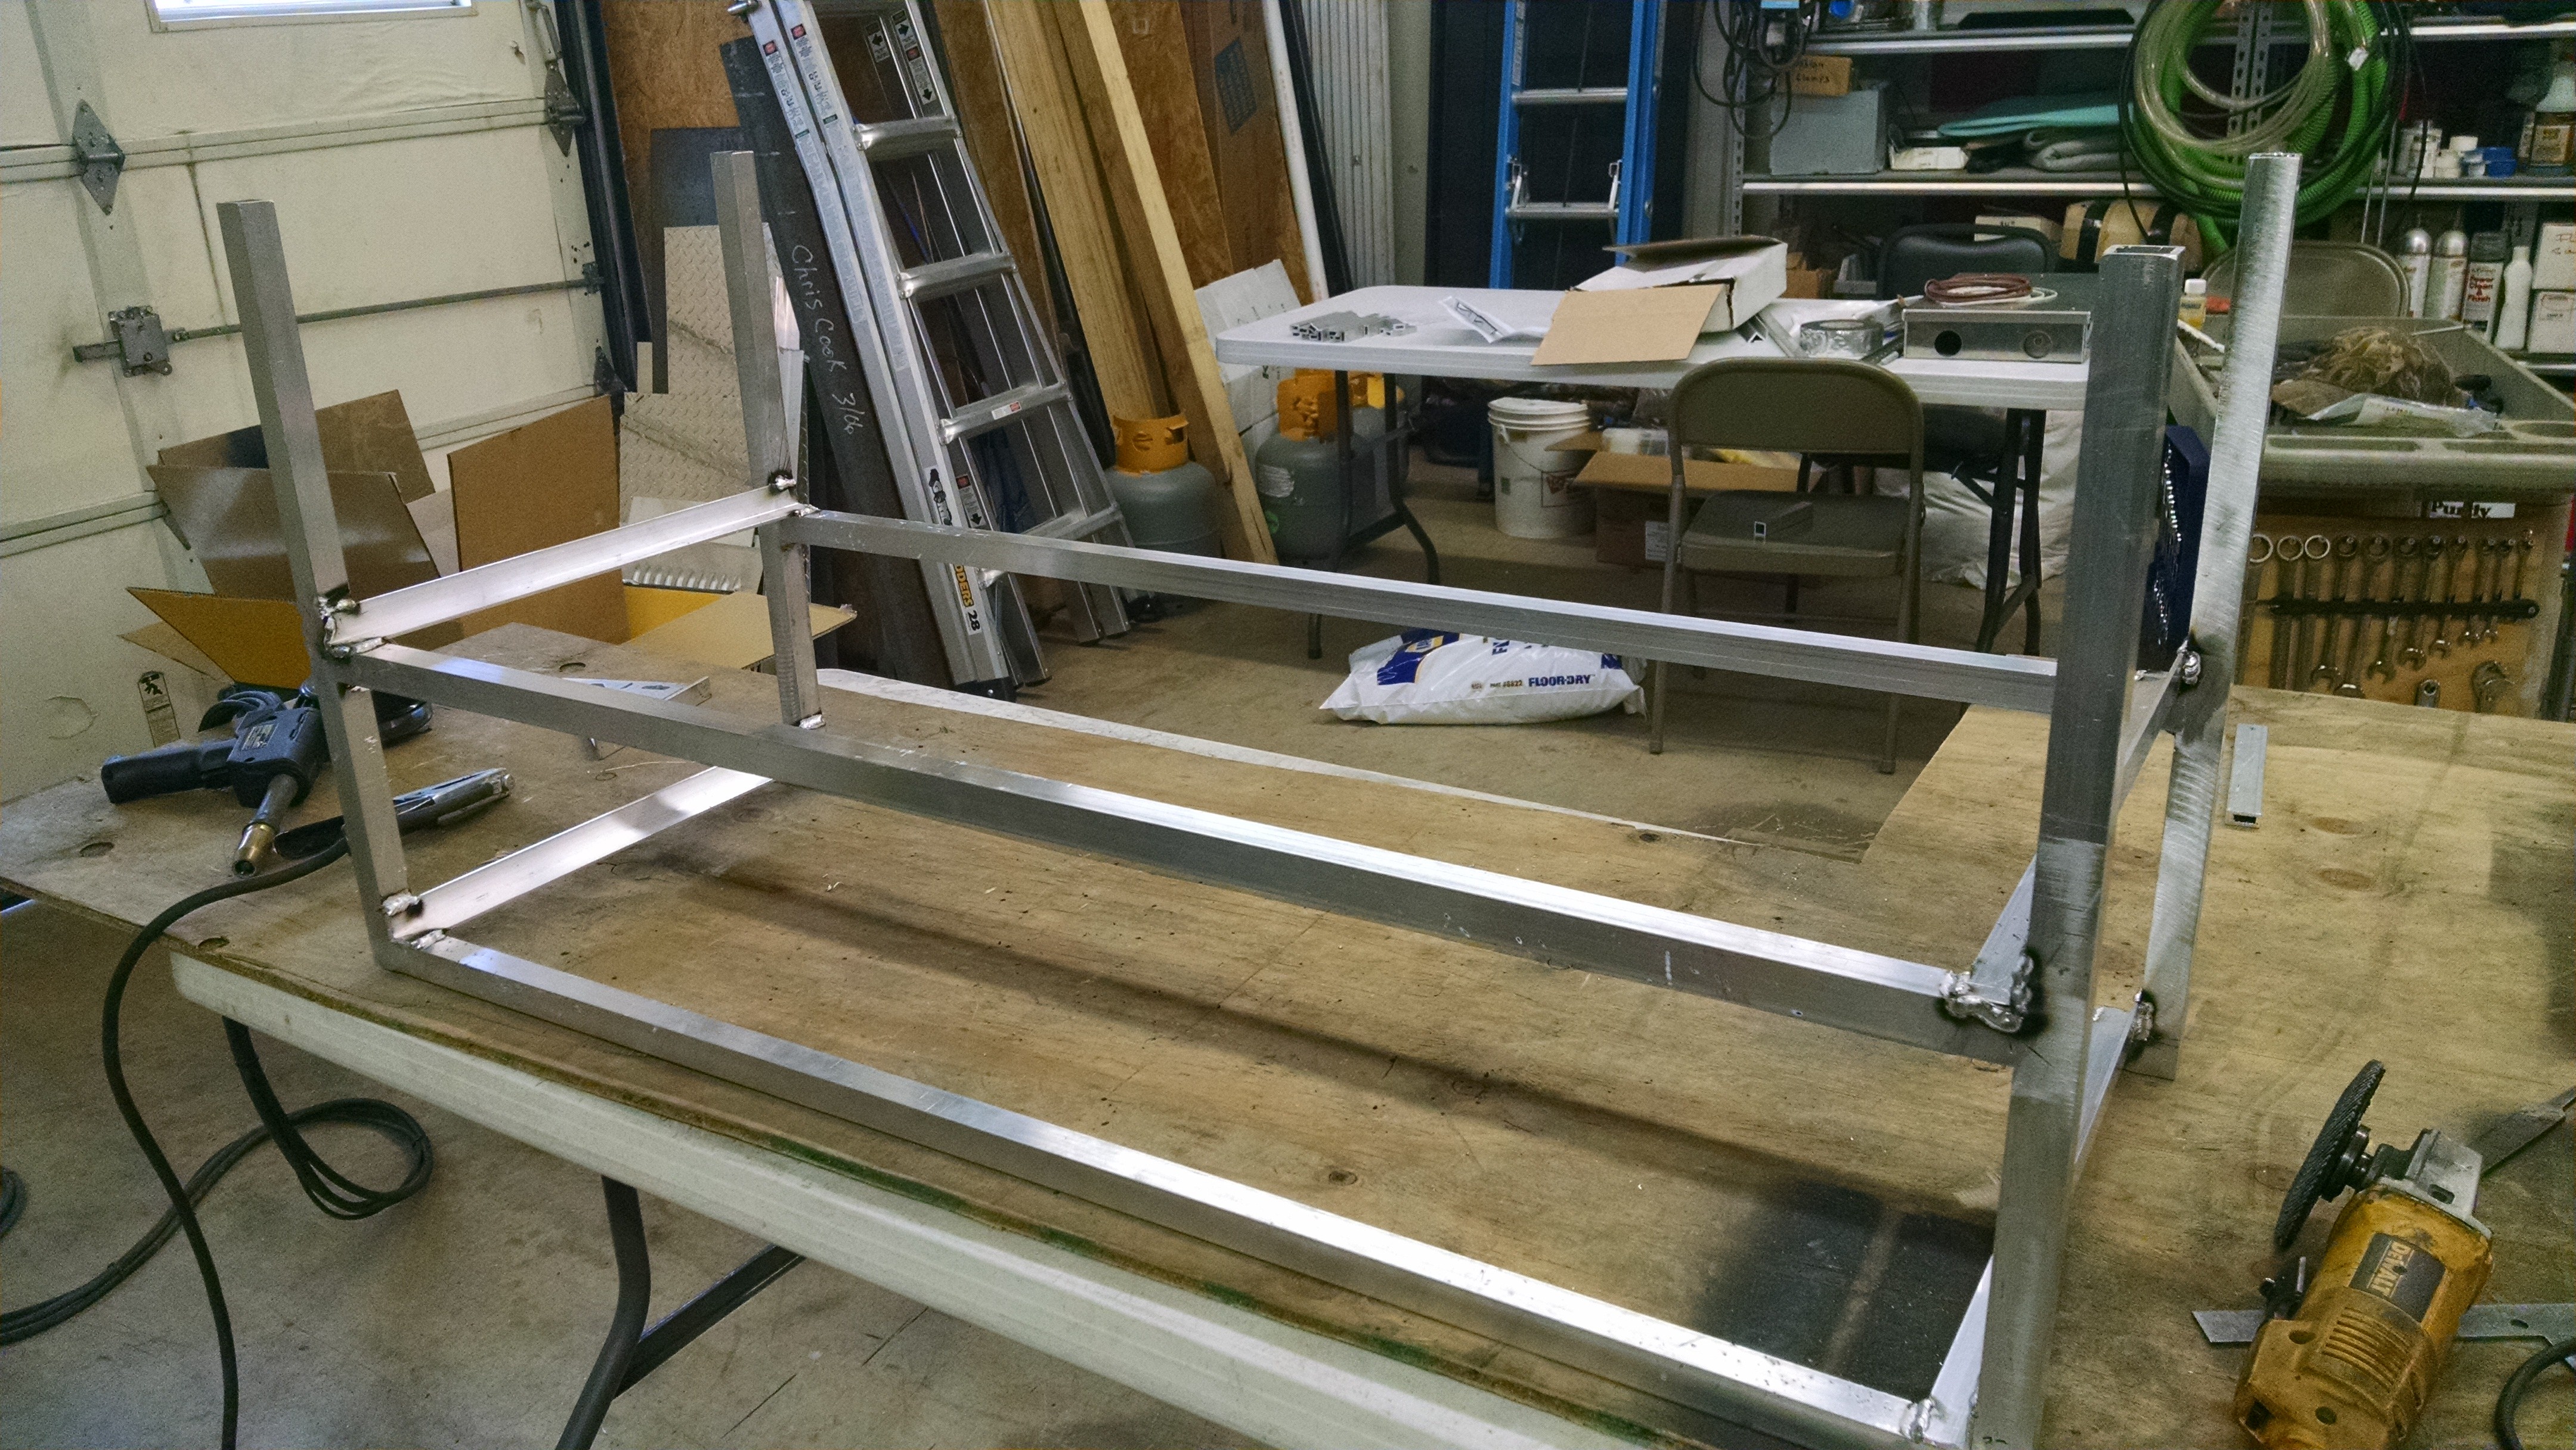
We're not welding the inside joints where the angle goes so the angle can sit tight in the corners but we're welding the joints where the angle meets the tubing.  It's shaping up to be much stronger than I thought it would.  I might cut down on some of the bracing I had drawn in to save on weight.
« Last Edit: 11/27/14 - 02:54PM by Cook5 »

Offline Cook5

  • Club Members
  • Level 2
  • *
  • Posts: 111
Re: Jeep Camp Trailer
« Reply #70 on: 11/28/14 - 02:51PM »
Spent some more time on the kitchen project today.  Really more of an aluminum camp box at this point.  With all of the pieces pre-cut, it is going together pretty quickly.  I did decide to eliminate some of the vertical supports since after getting the main frame put together, it's very solid.  I did keep supports under the stove since it could have heavy pots on it.  The plastic tubs I think are going to work well.  I might have to fab some sort of dividers for a couple of them to break up the space or use smaller plastic tubs inside of these.  The space under the worktable on the left will be storage for cutting boards and a griddle for the stove.  I've decided to nix the sink and use wash tubs instead.  I think it'll help conserve water and I can dump them without worrying about a drain on the sink.  I'm still going to have a water spout at the edge of the trailer that I can use for water supply from the storage tank but no sink.  I can add it later if I change my mind. I'm going to plumb the propane from the stove over to the edge of the kitchen frame and use a hose and quick-connect fittings to connect to the trailer propane supply.  I'm also thinking of building a small stand with some LED lights for the work area.  Has anyone found any good LED camper lights?


Here are a few pictures I took of the project as it moves along.


Offline Cook5

  • Club Members
  • Level 2
  • *
  • Posts: 111
Re: Jeep Camp Trailer
« Reply #71 on: 12/ 1/14 - 09:18PM »
I worked on the kitchen a bit more this weekend.  Mainly added some expanded aluminum to the shelf under the counter so I can store the griddle & cutting boards in there.  Also cleaned up some of the welds & ground some of the joints down.  Finally I worked on the legs that will fold out to support the unit since I decided to make it free-standing.  I went through several iterations from drop down inside the vertical supports to something that would just stick on the bottom and finally settled on legs that will swing down from the ends and fold-up under the unit.  There will be a fold-down support to spread the legs apart wider than the box for more stability.  We drilled a hole in the frame and slid a 1/4" rod through the entire box.  There will be 1X1 angle threaded on the rod to allow it to swing.  We'll weld a stop in front of the leg to support it past vertical once it's folded out.  The folding support will force the 2 legs apart wider than the box.  (That's the idea anyway)  Here are a couple of pictures of where I got with it.  Still have to make the support.  Once it's all installed and working like I want, I'll weld up the holes so the rod won't be able to work its way out.


« Last Edit: 12/ 4/14 - 10:50AM by Cook5 »

Offline Cook5

  • Club Members
  • Level 2
  • *
  • Posts: 111
Re: Jeep Camp Trailer
« Reply #72 on: 12/ 4/14 - 11:02AM »
Well, like most everything I do, sometimes it doesn't work out like I think it should.  After too much thought, work & rework, the leg design was a flop.  It just wasn't stable enough.  The attachment from the leg to the box wasn't solid enough using the rod.  So, we scrapped that and have gone a different route.  Still planning to use angle for the legs but they will be attached to the box with a sex bolt that we welded to the box and ground flush, leaving just a threaded insert.  We had it stick through enough to come through the leg also so when we tighten the screw, we still have a leg that can swing open & closed.  I bought a couple of locking arms for the fold-up table so we will use those also on the legs to lock them in position.  That in itself has turned into a project.  The locking arms aren't even length on either side of the pivot point so the angle of the arm when extended isn't 45 degrees.  They came with measurements from each end to use but since they were to be on a table and our box measurements don't match up, we just had to play with them to get them to work correctly.  It's amazing how much a very small movement in the attachment point changes the angle and function of the arm.  I had figured the angles and measurements and we put it in only to find it wouldn't fold properly.  In fact, it was hung up several inches from closing.  After adjusting and moving it to find where it would work properly, we ended up 3/16" from our original starting point but that 3/16" made a huge difference.  Here are some pictures of the trial/error process.  Still have to weld in some attachment points and attach the arms to the legs permanently.

The original failed plan to have a spreader bar type setup.  We couldn't get a solid enough attachment at the top.


The locking arm setup.  I think this will work much better.
« Last Edit: 12/ 4/14 - 11:06AM by Cook5 »

Offline Cook5

  • Club Members
  • Level 2
  • *
  • Posts: 111
Re: Jeep Camp Trailer
« Reply #73 on: 12/ 6/14 - 01:50PM »
I finally got one side of the legs finished and working like I want.  I used the folding bracket and cross-braced from one leg to the other.  Took some finagling but it works pretty well.  I put nylon washers between the legs and the frame of the kitchen so the aluminum won't gald over time.  I riveted the bracket into place and will probably use some loc-tite on the screws that hold the legs to the frame.  We welded the sex bolt to the frame and ground it back smooth to keep from having anything stick out.  Since the sex bolt receivers are aluminum, it covers perfectly and you just end up with a threaded insert on the inside.


I riveted the bracket to the leg and ground the rivet smooth.


Here's a picture of the leg system folded down.  It needed to fold completely inside the frame so it can slide into the compartment I'm going to build on the front of the trailer.  I didn't make the kitchen with really any spare room in the compartment.  I'll have less than 1/2" to maneuver it.
« Last Edit: 12/ 6/14 - 01:58PM by Cook5 »

Offline Cook5

  • Club Members
  • Level 2
  • *
  • Posts: 111
Re: Jeep Camp Trailer
« Reply #74 on: 12/12/14 - 07:40PM »
I have both sets of legs finished and got the prep top made.  It's stainless so it added several pounds.  It's basically finished except for the doors for the end of the doghouse, one of which will be an additional prep area that folds up.  

Both sets of legs ready to go.  It's pretty stable.


Here's a couple of shots with it set up and the prep area installed and the stove set on.


Next up to build the "doghouse" that the kitchen will slide into.  It's going to be 12ga. aluminum treadplate.  I'm going to break the entire thing out of one piece to eliminate places for water leaks.
« Last Edit: 12/12/14 - 07:43PM by Cook5 »